


Setting Up Your First Indoor Grow Room in Bangkok: A Step-by-Step Guide
Building a grow room in Bangkok is not the same job as building one in Amsterdam, and most guides you will find online are written for the second. The two problems that dominate here are heat you cannot vent away — outdoor air is often warmer than the room you are trying to cool — and humidity that arrives with every cubic metre of intake air. Everything below is arranged around those two facts.
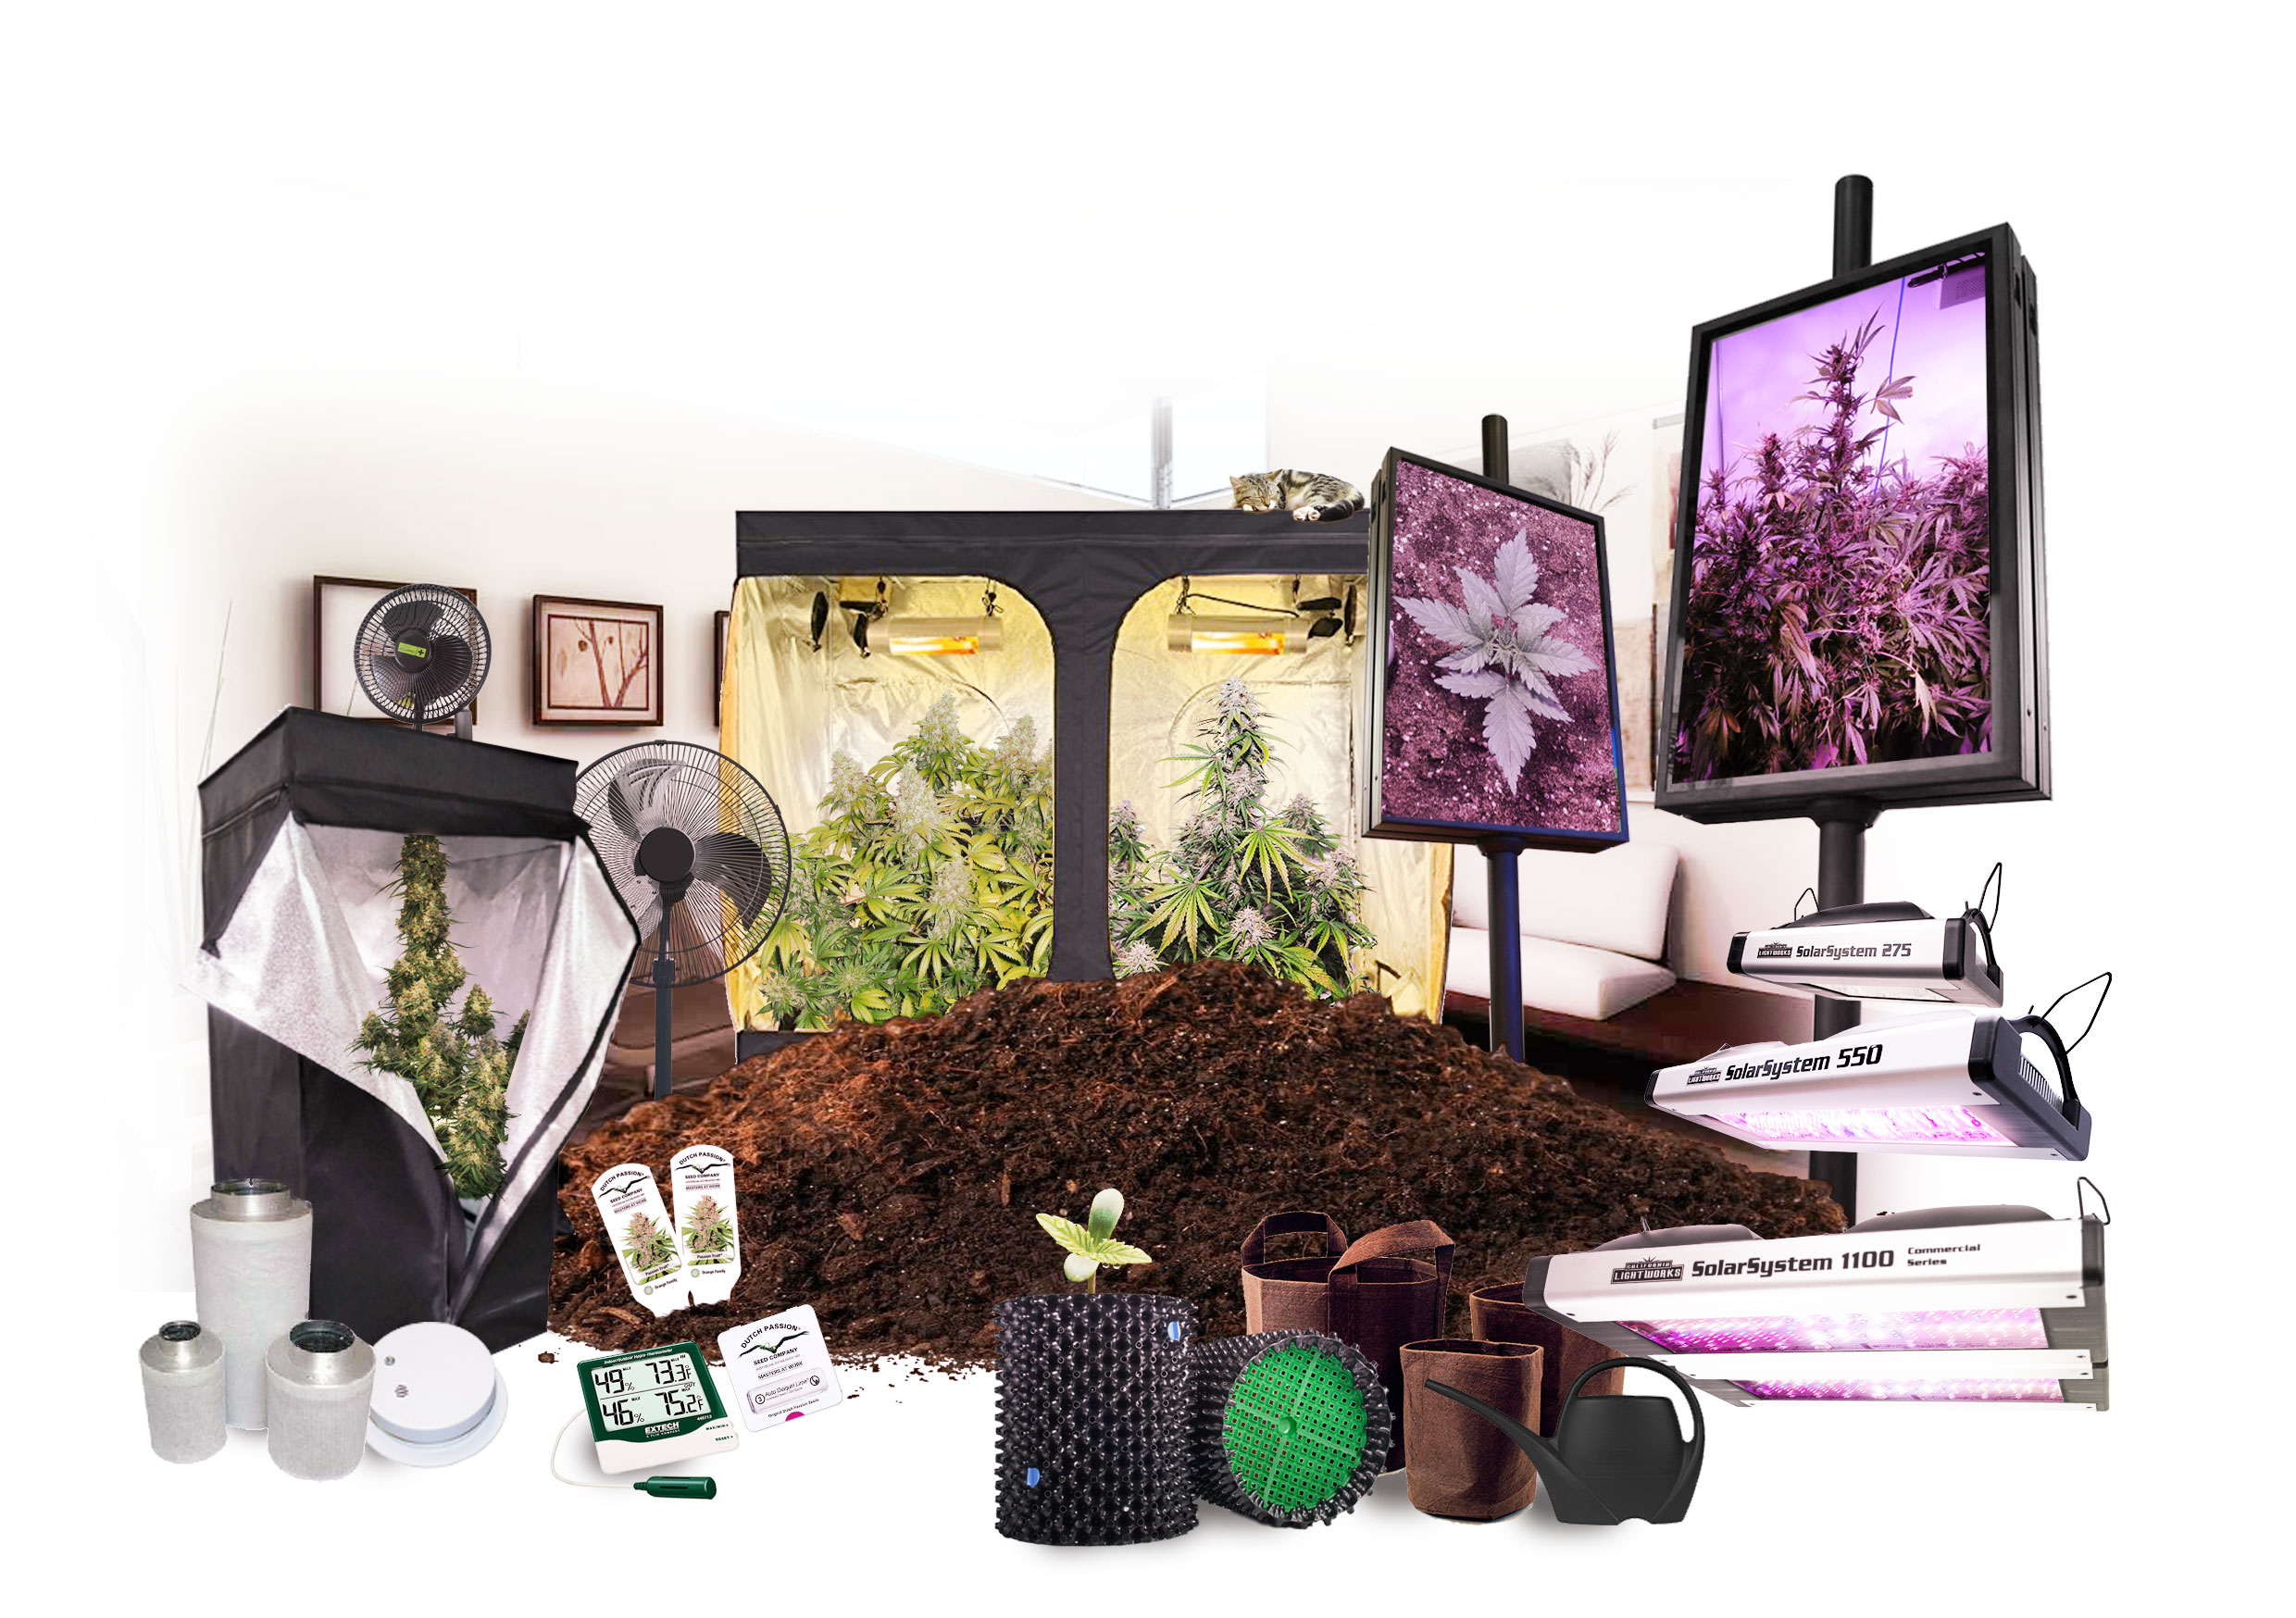
Step 0: Register the grow first
Cultivation in Thailand is a notifiable activity. It has been since 2022, through the Thai FDA’s registration system, and the notification is the point at which the state records who is growing, where, and how much. Growing for personal medical use and growing to supply anyone else are different undertakings with different paperwork, and if you are not a Thai resident you should not assume any of it is open to you.
We have set out what the rules say, with the instruments named and dated, in cannabis seeds and the law in Thailand. Read that before you spend money on equipment, not after.
Step 1: Choose the space
The right room in a Bangkok condo or townhouse has four properties, in order of importance:
- It can be cooled. In practice this means it has an air conditioner, or you can fit one. Everything else is negotiable; this is not.
- It is internal. A room with a west-facing external wall absorbs heat all afternoon and re-radiates it into the night. An interior room, a windowless store room, or a large built-in wardrobe is far easier to hold at temperature.
- It has a drain or a floor you do not mind getting wet. You will be moving water in and condensate out every day.
- It has a power circuit you can load. More on that below.
A common and workable Bangkok arrangement is a 1.2 × 1.2 m tent standing inside a small air-conditioned bedroom, with the tent’s extraction discharging into the room rather than outdoors, and the air conditioner handling the heat of both. This is quieter, more controllable, and less visible from the outside than ducting through a wall.
Step 2: The tent
For a first grow, a 1.2 × 1.2 × 2 m tent is the size worth starting at. It holds four to six plants in fabric pots, it is small enough to control cheaply, and it is large enough that the harvest justifies the effort.
Smaller is genuinely harder, not easier: a 0.6 × 0.6 m tent swings ten degrees when the light comes on and there is no thermal mass to absorb it. If space is very tight, a 0.9 × 0.9 m tent is a better floor than a 60 cm one.
Step 3: Lighting — and the heat that comes with it
Modern LED fixtures are the only sensible choice in a hot climate. An HPS lamp of equivalent output puts substantially more heat into the room for the same usable light, and in Thailand every watt of heat is a watt you then pay to remove.
Sizing, for a 1.2 × 1.2 m footprint:
- 200–320 W of a good LED fixture is the useful range. Below that you are light-limited; above it you are cooling-limited.
- Target roughly 300–450 µmol/m²/s of PPFD in vegetative growth and 700–900 µmol/m²/s in flower, measured at the canopy.
- Dim the fixture during the first two weeks. New growers routinely light-burn seedlings by running a fixture at full output over a plant with four leaves.
The heat arithmetic you need. Essentially all of the electrical power going into an LED ends up as heat in the room — a small fraction leaves as light, and that light is absorbed and becomes heat too. So a 240 W fixture is a 240 W heater, which is about 820 BTU per hour. Add a 60 W inline fan and a 300 W dehumidifier and you are at roughly 2,000 BTU/h of load before you have accounted for the heat coming through the walls.
A 9,000 BTU air conditioner — the smallest common domestic size in Thailand — has a great deal of headroom against that figure. Which is the encouraging part of this whole guide: cooling a small tent in Bangkok is not expensive, provided the room around it is sealed and shaded.
Step 4: Run the lights at night
This is the single most useful trick in a tropical grow room, and it costs nothing.
Set the timer so the lights are on overnight and off during the afternoon. The lamp then adds its heat when the outdoor temperature is at its lowest, and the plants take their dark period during the hottest part of the day, when your air conditioner would otherwise be fighting both the sun and the light.
For autoflowers on 18/6, run lights from roughly 6 pm to noon. For photoperiod plants on 12/12, run from 7 pm to 7 am. The plants do not care what the clock says; they care about the interval.
Step 5: Humidity
Bangkok’s outdoor humidity sits around 70–75% as an annual average and spends the monsoon months above 85% overnight. If your tent draws in outdoor air, that is the air you are trying to dry.
Two viable strategies:
- Near-sealed room. The tent extracts into the room; the room’s air conditioner cools and dehumidifies; a separate dehumidifier holds the last few points. Little or no outdoor air enters. This is the arrangement that actually works in the wet season.
- Open extraction. The tent draws filtered outdoor air and exhausts it. Cheaper and simpler, fine from December to March, and very difficult to hold below 60% RH in August.
Size a dehumidifier on litres of water rather than square metres: a plant transpires very nearly all the water you feed it, so a room drinking 8 litres a day needs to lose about 8 litres a day. Note that capacity ratings are quoted at a test condition — a unit sold as “20 litres per day” at 30 °C and 80% RH will deliver far less at the 26 °C and 55% you want in late flower. Assume roughly half the headline figure unless the manufacturer publishes a low-humidity number.
The target to hold, and why, is covered in detail in preventing mould and bud rot in tropical Thailand.
Step 6: Air movement
Extraction changes the air; circulation moves it. You need both.
- An inline fan sized to exchange the tent volume roughly every one to three minutes. For a 2.9 m³ tent, something rated at 200–350 m³/h is sensible once you allow for the resistance of a carbon filter, which typically costs about a third of the rated airflow.
- Two oscillating clip fans at canopy height, crossing each other. Leaves should tremble, not thrash.
- One small fan low down, moving air across the pot surfaces. The still, humid layer under a bushy plant is where rot starts.
- Leave the fans running through the dark period. Pre-dawn is when humidity peaks and when the temperature is closest to the dew point.
Step 7: Odour control, and why it is harder here
A carbon filter on the intake side of the inline fan, with the tent held at slight negative pressure so air leaves only through the filter, is the standard solution and it works.
What is specific to the tropics: activated carbon loses adsorption capacity as humidity rises. Water molecules occupy the same micropores that would otherwise hold odour compounds, so a filter working in 80% relative humidity has meaningfully less capacity than the same filter in 50%, and it will need replacing sooner. If you can hold the room drier, you are not only protecting the crop — you are extending the life of a consumable.
Practical points: buy a filter rated above your fan’s airflow rather than at it; do not run the filter during drying if you can avoid it, as that is when it works hardest; and replace the pre-filter sleeve regularly, since dust blinds the carbon faster than odour saturates it.
Step 8: Medium and pots
Fabric pots of 11–19 litres suit a tent this size. They air-prune the roots and, more usefully in this climate, they let the medium breathe and dry.
- Soil is more forgiving of irregular watering, which makes it the better choice for a first grow.
- Coco coir performs superbly in heat but dries very fast at 30 °C and needs feeding at every watering, often more than once a day in late flower. It rewards attention and punishes a weekend away.
Whichever you choose, do not stand pots directly on a tent floor that collects runoff. A pot sitting in water in a warm room is an invitation to root problems and fungus gnats.
Step 9: Water
Bangkok’s mains supply is chlorinated and generally alkaline. Letting water stand uncovered for a day drives off free chlorine; a cheap carbon filter does it immediately, and is worth having if your supply is chloraminated.
Buy a pH meter and an EC meter before you buy anything else optional. Almost every “mystery deficiency” posted in Thai grow groups turns out to be a pH problem at the root zone, and you cannot diagnose it without measuring it. Target roughly pH 6.0–6.5 in soil and 5.5–6.2 in coco.
Step 10: Power
Thailand runs 220 V at 50 Hz. A tent of this size — a 240 W light, fans, a dehumidifier and a share of the air conditioning — draws on the order of 500–900 W while the lights are on. That is a normal domestic load and no rewiring is needed, but three cautions apply:
- Do not daisy-chain power strips. One properly rated extension from a socket you have checked.
- Fit an RCD if the circuit does not already have one. Water, metal and 220 V share a small room.
- Expect the bill to move. Thai residential electricity is billed on a progressive tariff, so additional consumption is charged at the higher end of the scale, not the average. Run the numbers on your own bill before committing to a second tent.
Step 11: Seeds
For a first indoor grow, choose something forgiving and fast rather than something exotic.
- Critical Orange Punch — XXL yield, eight weeks of flower, very tolerant of imperfect conditions.
- Power Plant — a Dutch Passion classic since 1997, specifically known for tolerating environmental swings.
- Auto Critical Orange Punch — if you would rather not manage a light schedule at all, an autoflower removes that variable entirely.
- Durban Poison — worth knowing it stretches hard on the flip to 12/12, so keep the veg period to three or four weeks in a two-metre tent.
Browse indoor seeds for the full selection, and our germination guide for getting them started.
What a first build costs and what it earns
The equipment list above — tent, LED, inline fan, carbon filter, circulation fans, dehumidifier, pots, medium, meters — is a one-off cost, and the air conditioner is often already in the room. Running costs are dominated by electricity and are modest at this scale.
What is not modest is the learning curve. Expect the first cycle to teach you where your room actually sits on temperature and humidity, and plan the second one around what you measured rather than around what a guide told you. Buy the hygrometer before the second tent.
The five mistakes we see most often in Thai rooms
- Venting into the humidity instead of sealing against it. An open extraction setup in August imports the problem.
- Lights on during the day. Free to fix, and it changes the room by several degrees.
- Fans off at night. The dark hours are when mould establishes.
- Too much light too early. Dim the fixture for the first fortnight.
- Dense indica genetics in a humid room. Structure matters more than potency numbers in this climate — see our outdoor and climate strain guide.
Questions about seeds, delivery or the paperwork a licensed grow needs are answered in our FAQ, or write to us — we answer in Thai and English within a working day.